Blur background or the whole photo in your browser
Blur background by selecting the subject in the editor, inverting the selection and applying a blur filter; the one-click tool above blurs the entire picture. Both paths run on your device and need no install.
- Blur strength previewed live
- Format and quality
- Nothing uploaded
- No sign-up
- Opens
- JPG
- PNG
- WebP
- GIF
- BMP
- TIFF
How to blur background in a photo
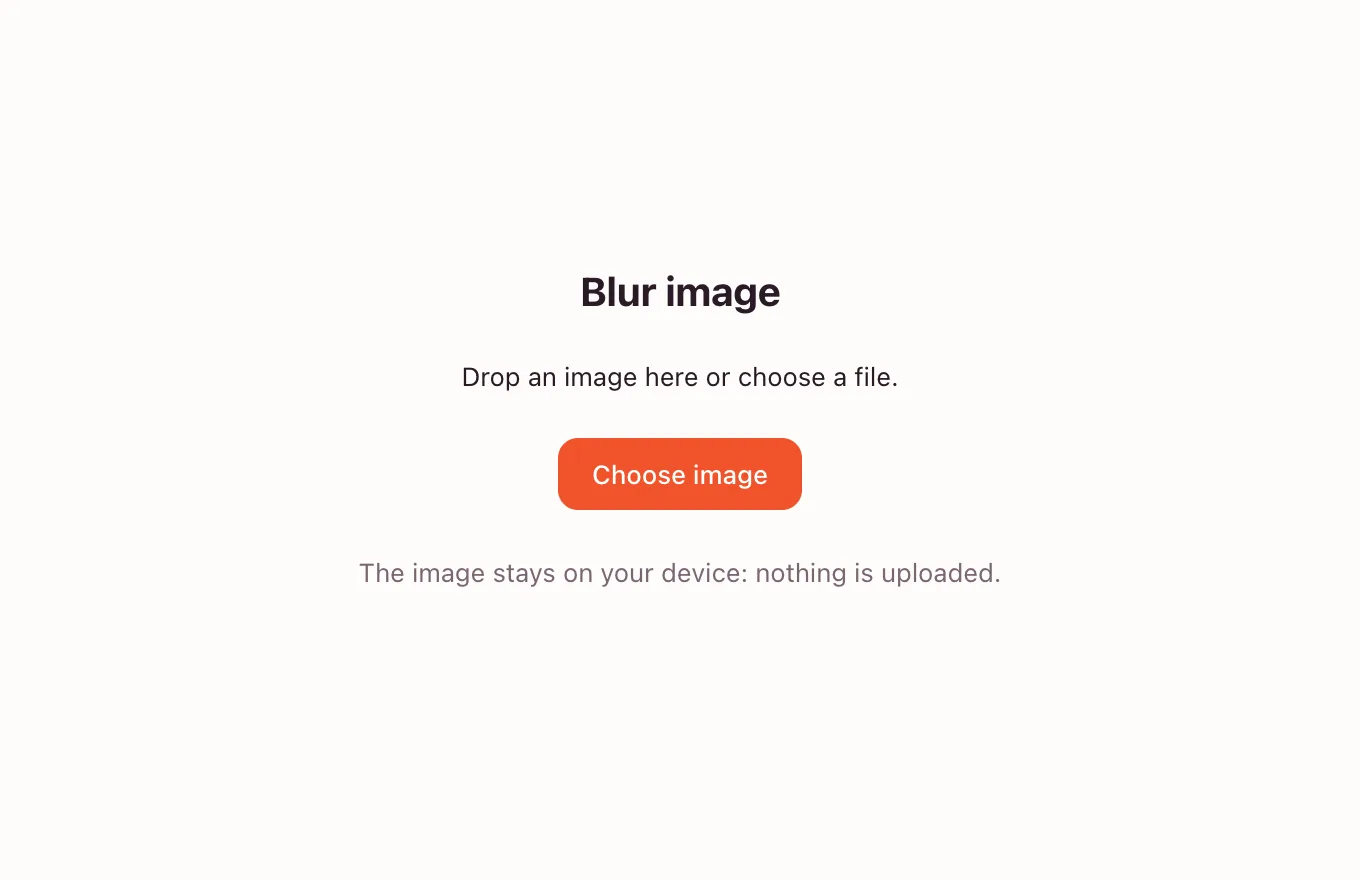
Open the photo
Drop an image into the frame or press “Choose image”. JPG, PNG, WebP and other readable formats open with a preview; the original stays on your device.
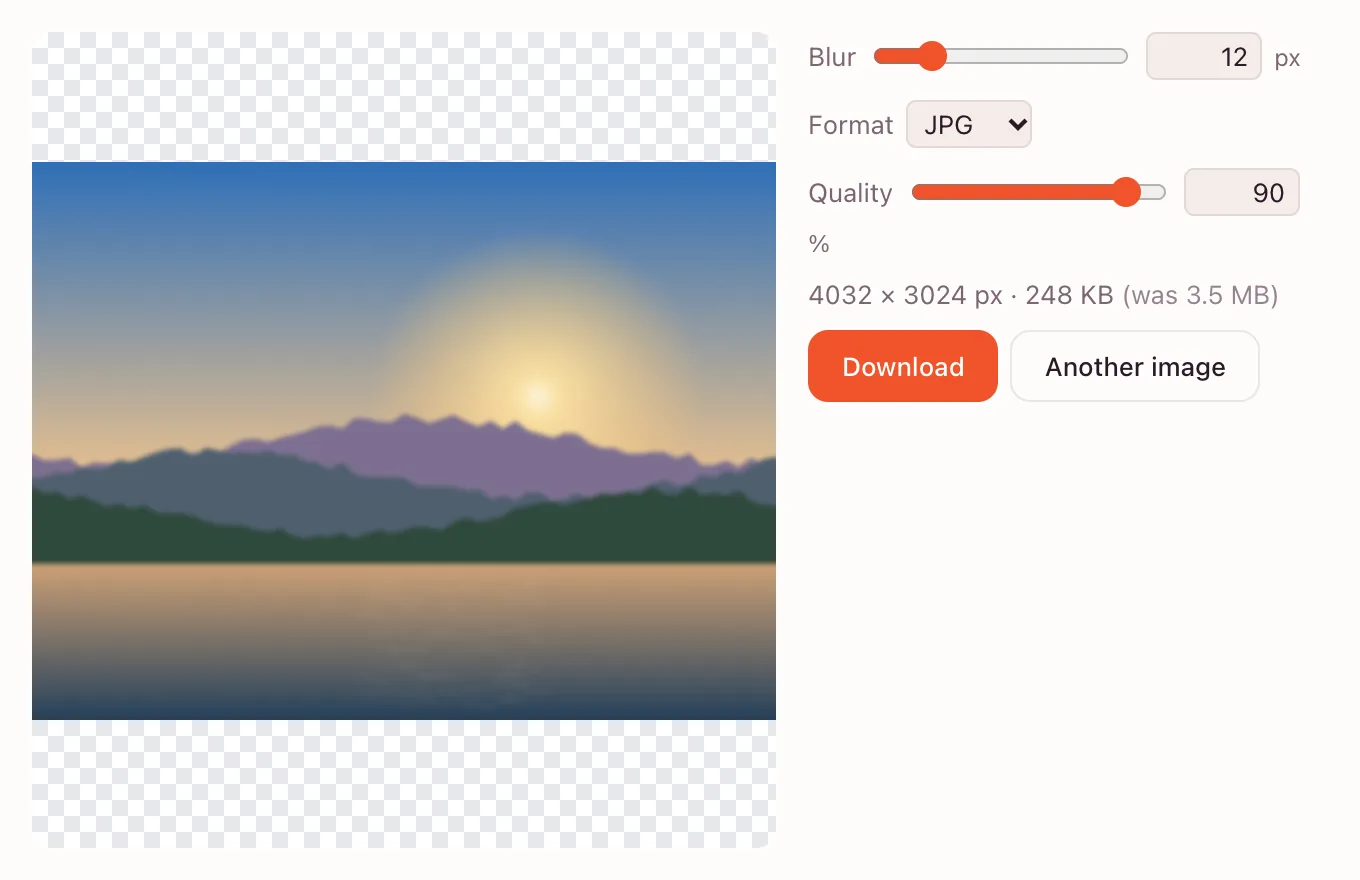
Blur the whole image
The “Blur” slider runs from 0.5 to 60 px. Move it until the background softens the way you want; the preview changes as you drag.
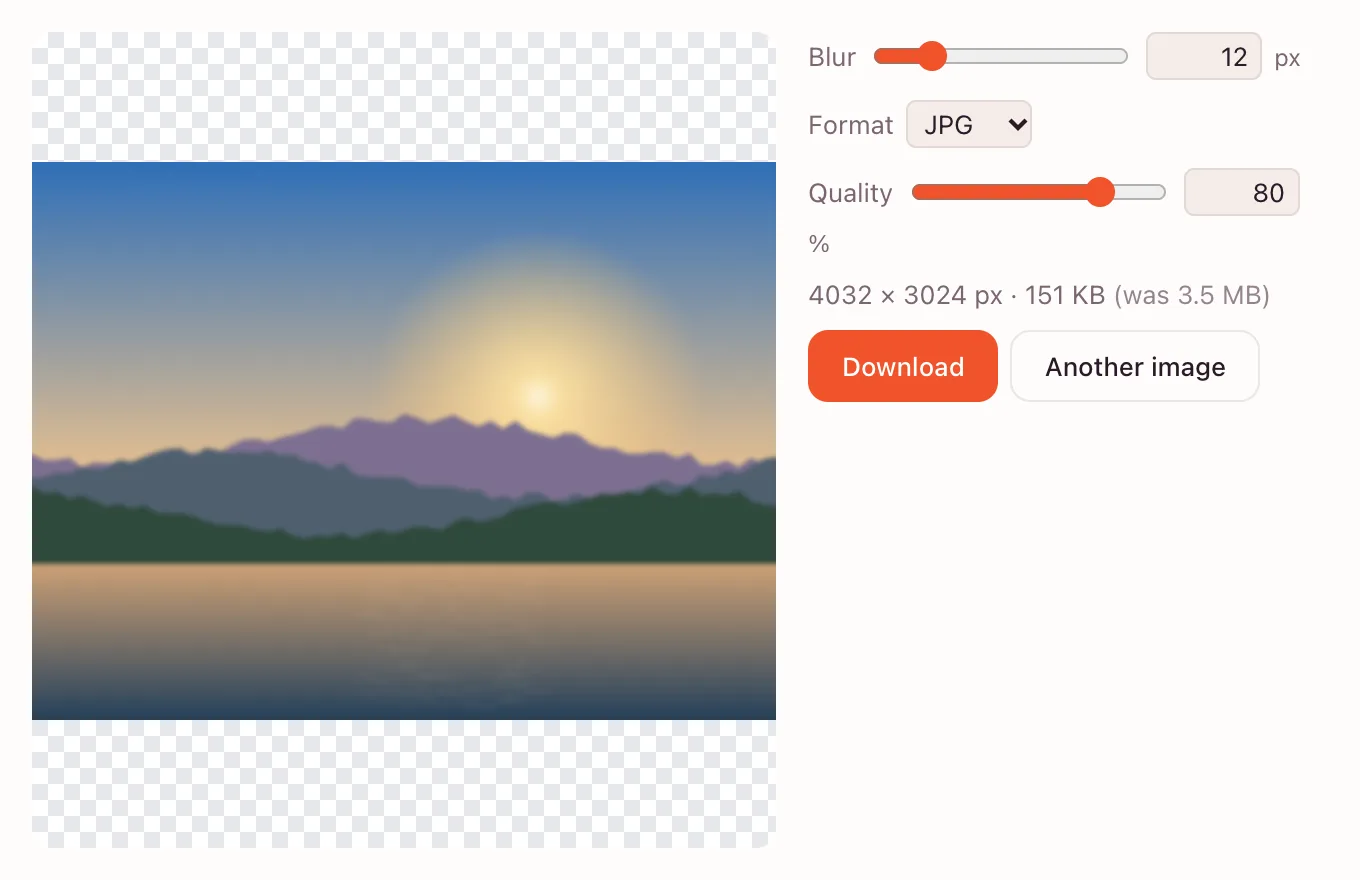
Download the result
The frame shows the pixel size and the file weight. Pick JPG, PNG or WebP, set the quality and press “Download”. The file goes to your device.
Or blur only the background
For a portrait or product shot, open the full editor: select the subject, invert the selection and apply a blur filter. The subject stays sharp.
Two ways to get a blurred background
The quick tool is fastest when the whole picture can be soft: a background for text, an abstract image, a frame where nothing must stay sharp. It applies a Gaussian blur to every pixel at once.
When the subject must stay crisp, use the editor: make a selection around the subject, invert it so the background is selected, then run a blur filter. Only the selected area changes.
| Approach | What gets blurred | Best for |
|---|---|---|
| Quick tool on this page | The entire image | Backgrounds for text, soft covers |
| Editor with a selection | Only the background | Portraits and product photos |
| Blur brush in the editor | Where you paint | Small fixes, edges, one object |
How to blur the background in the editor
Open the picture in the editor and choose a selection tool. “Quick Selection” lets you paint over the subject; the “Magnetic Lasso” follows a clear edge. For hair and fur, run “Select” → “Refine Edge…” first.
Invert the selection with “Select” → “Inverse”: the background is selected and the subject is protected. Apply “Filter” → “Blur” → “Gaussian Blur…” and raise the radius. The filter respects the selection, so the subject keeps its detail.
Work on a duplicate layer if you may change the amount later. A layer mask brings sharpness back to a stray lock of hair or a product edge.
Where a blurred background helps
LinkedIn headshots
A busy office or street competes with the face. Blur the background and the headshot reads cleanly.
Etsy and Shopify product shots
A soft backdrop keeps attention on the item. If a marketplace requires white, replace the background.
Family and pet portraits
A wide aperture look: select, invert, blur. Watch edges around ears and fur.
Slides and title cards
A blurred photo makes a calm surface for a headline. Add the text after the blur.
Blur filters in the editor
The “Filter” → “Blur” submenu holds several blur types.
- “Gaussian Blur…” — even, smooth blur with a radius.
- “Box Blur…” — a similar softening, different edges.
- “Motion Blur…” — directional smear; set the angle and the distance.
- “Blur” and “Blur More” — quick options without a dialog.
- “Radial Blur…”, “Smart Blur…”, “Surface Blur…”, “Lens Blur…”, “Iris Blur…” and “Tilt-Shift…” — extra filters for specific looks.
The Blur brush
For small areas, the “Blur” brush is quicker than a selection. Pick it from the toolbar, set the size and strength, and paint where the image should soften. Work on a duplicate layer so the original stays untouched.
The brush also blends a hard border after a selection blur. It is less predictable on large regions, where a filter gives a more even result.
How much blur is enough
Start low and increase gradually. A small radius softens texture; a large one turns the background into colour and light, which is often what a portrait needs. The quick slider covers 0.5 to 60 px.
Check the result at 100% zoom, not only fitted. Edges, text and straight lines show artefacts sooner than faces. If the background still pulls attention, darken it slightly with a curves adjustment.
Hiding a face or a licence plate
Blur can hide identifying details, but check at full size before publishing: a light blur may leave readable shapes. For faces and plates, pixelation is more reliable.
If the photo will be printed or viewed large, use a larger radius: what looks hidden on a phone can be recognisable on a monitor.
Limits, privacy and saving
The quick tool blurs the whole image; the editor works on a selection. One image is processed at a time, and the longest side is limited to 8192 pixels.
The quick tool decodes and blurs the image inside your browser; the file is not uploaded. In the full editor, saving to the cloud requires an account and stores the project in your own storage.
- Blur is destructive on a flat layer. Duplicate the layer or use a mask if you may need the original detail.
- On iPhone and Android, choose a photo from your library, adjust the slider and save to Photos or Files.
- The quick tool downloads the result to your device; a .photo project in the editor keeps layers and masks.
Questions and answers
Support: [email protected]
How do I blur the background of a photo?
Open the photo in the full editor, select the subject with Quick Selection or the Magnetic Lasso, then choose Select → Inverse. Apply Filter → Blur → Gaussian Blur and raise the radius. Only the background is blurred; the subject stays sharp.
How do I blur a whole photo online?
Use the quick tool on this page: drop the image in, move the Blur slider and download the result. It blurs the entire frame in the browser, with no upload and no account.
Does the tool blur the background automatically?
No. The quick tool blurs the entire picture, and the editor requires you to select the subject and invert the selection. There is no automatic subject detection on this page, so the result depends on how carefully you draw the selection.
How do I blur the edges of a photo?
In the editor, select the centre of the image, invert the selection and apply a blur filter. A feathered selection or a layer mask makes the transition softer. The Blur brush can then smooth any visible border.
How much blur should I use?
Start with a small radius and increase until the background stops competing with the subject. Check at 100% zoom: straight lines and text show artefacts before faces do. For a portrait, a stronger blur usually works better than a weak one.
Can I undo a blur?
If you blurred a duplicate layer or used an adjustment, yes — hide or delete it. If you saved a flattened file with the blur applied, the original detail is gone. Keep the source photo until you are happy with the result.
Is it free? Is there a watermark?
The quick tool is free and adds no watermark. You can download without signing in. An account is only needed for cloud storage in the full editor. The downloaded file remains yours.
Is it safe to upload photos?
The quick tool processes the image on your device and does not upload it. In the editor, cloud saving is optional and happens in your own account. Avoid opening files you are not allowed to store there.
Related tools
Pixelate image
Turn a picture into a pixel mosaic with the block size you choose.
Remove background
Cut the subject out of a photo with AI and download a transparent PNG.
Online photo editor
Edit photos in your browser: layers, masks, brushes, retouching, adjustments, filters and text.
Photo filters
Build photo filter looks from real adjustments — curves, levels, color balance and adjustment layers — in the browser.
Crop photo
Crop a photo to the ratio you need and download it without leaving your browser.
Resize image
Resize an image to exact pixels or a percentage and download it from your browser.
Compress image
Compress an image to JPG, PNG or WebP and compare the new file size before you download.
Black and white filter
Convert a colour photo to black and white in the browser, then download it or fine-tune the tones in the editor.
WebP to JPG
Convert a WebP or PNG image to JPG in the browser and download the file to your device.
Blur background or the whole photo in your browser
Blur a whole photo in one step, or blur only the background in the editor with a selection and a blur filter.
Open the editor